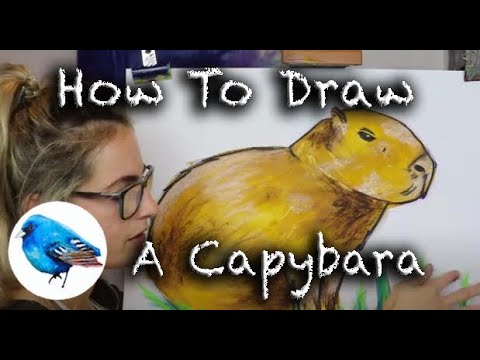
So, you’ve always dreamed of having a capybara as a pet? Well, you’re in luck, because this step-by-step guide is here to help you make your own! From gathering the necessary materials to assembling the different parts, this article will walk you through the entire process of creating your very own capybara. Get ready to unleash your creativity and craft your unique and adorable furry friend!
Step-by-Step Guide: Making Your Own Capybara
Materials Needed
To make your own capybara, you will need a few materials. These include fur fabric, padding, thread, a needle, scissors, polyester fiberfill, safety eyes, plastic pellets, tail material, and a pattern template. Having these materials ready will ensure a smooth and enjoyable crafting process.
Preparing the Pattern
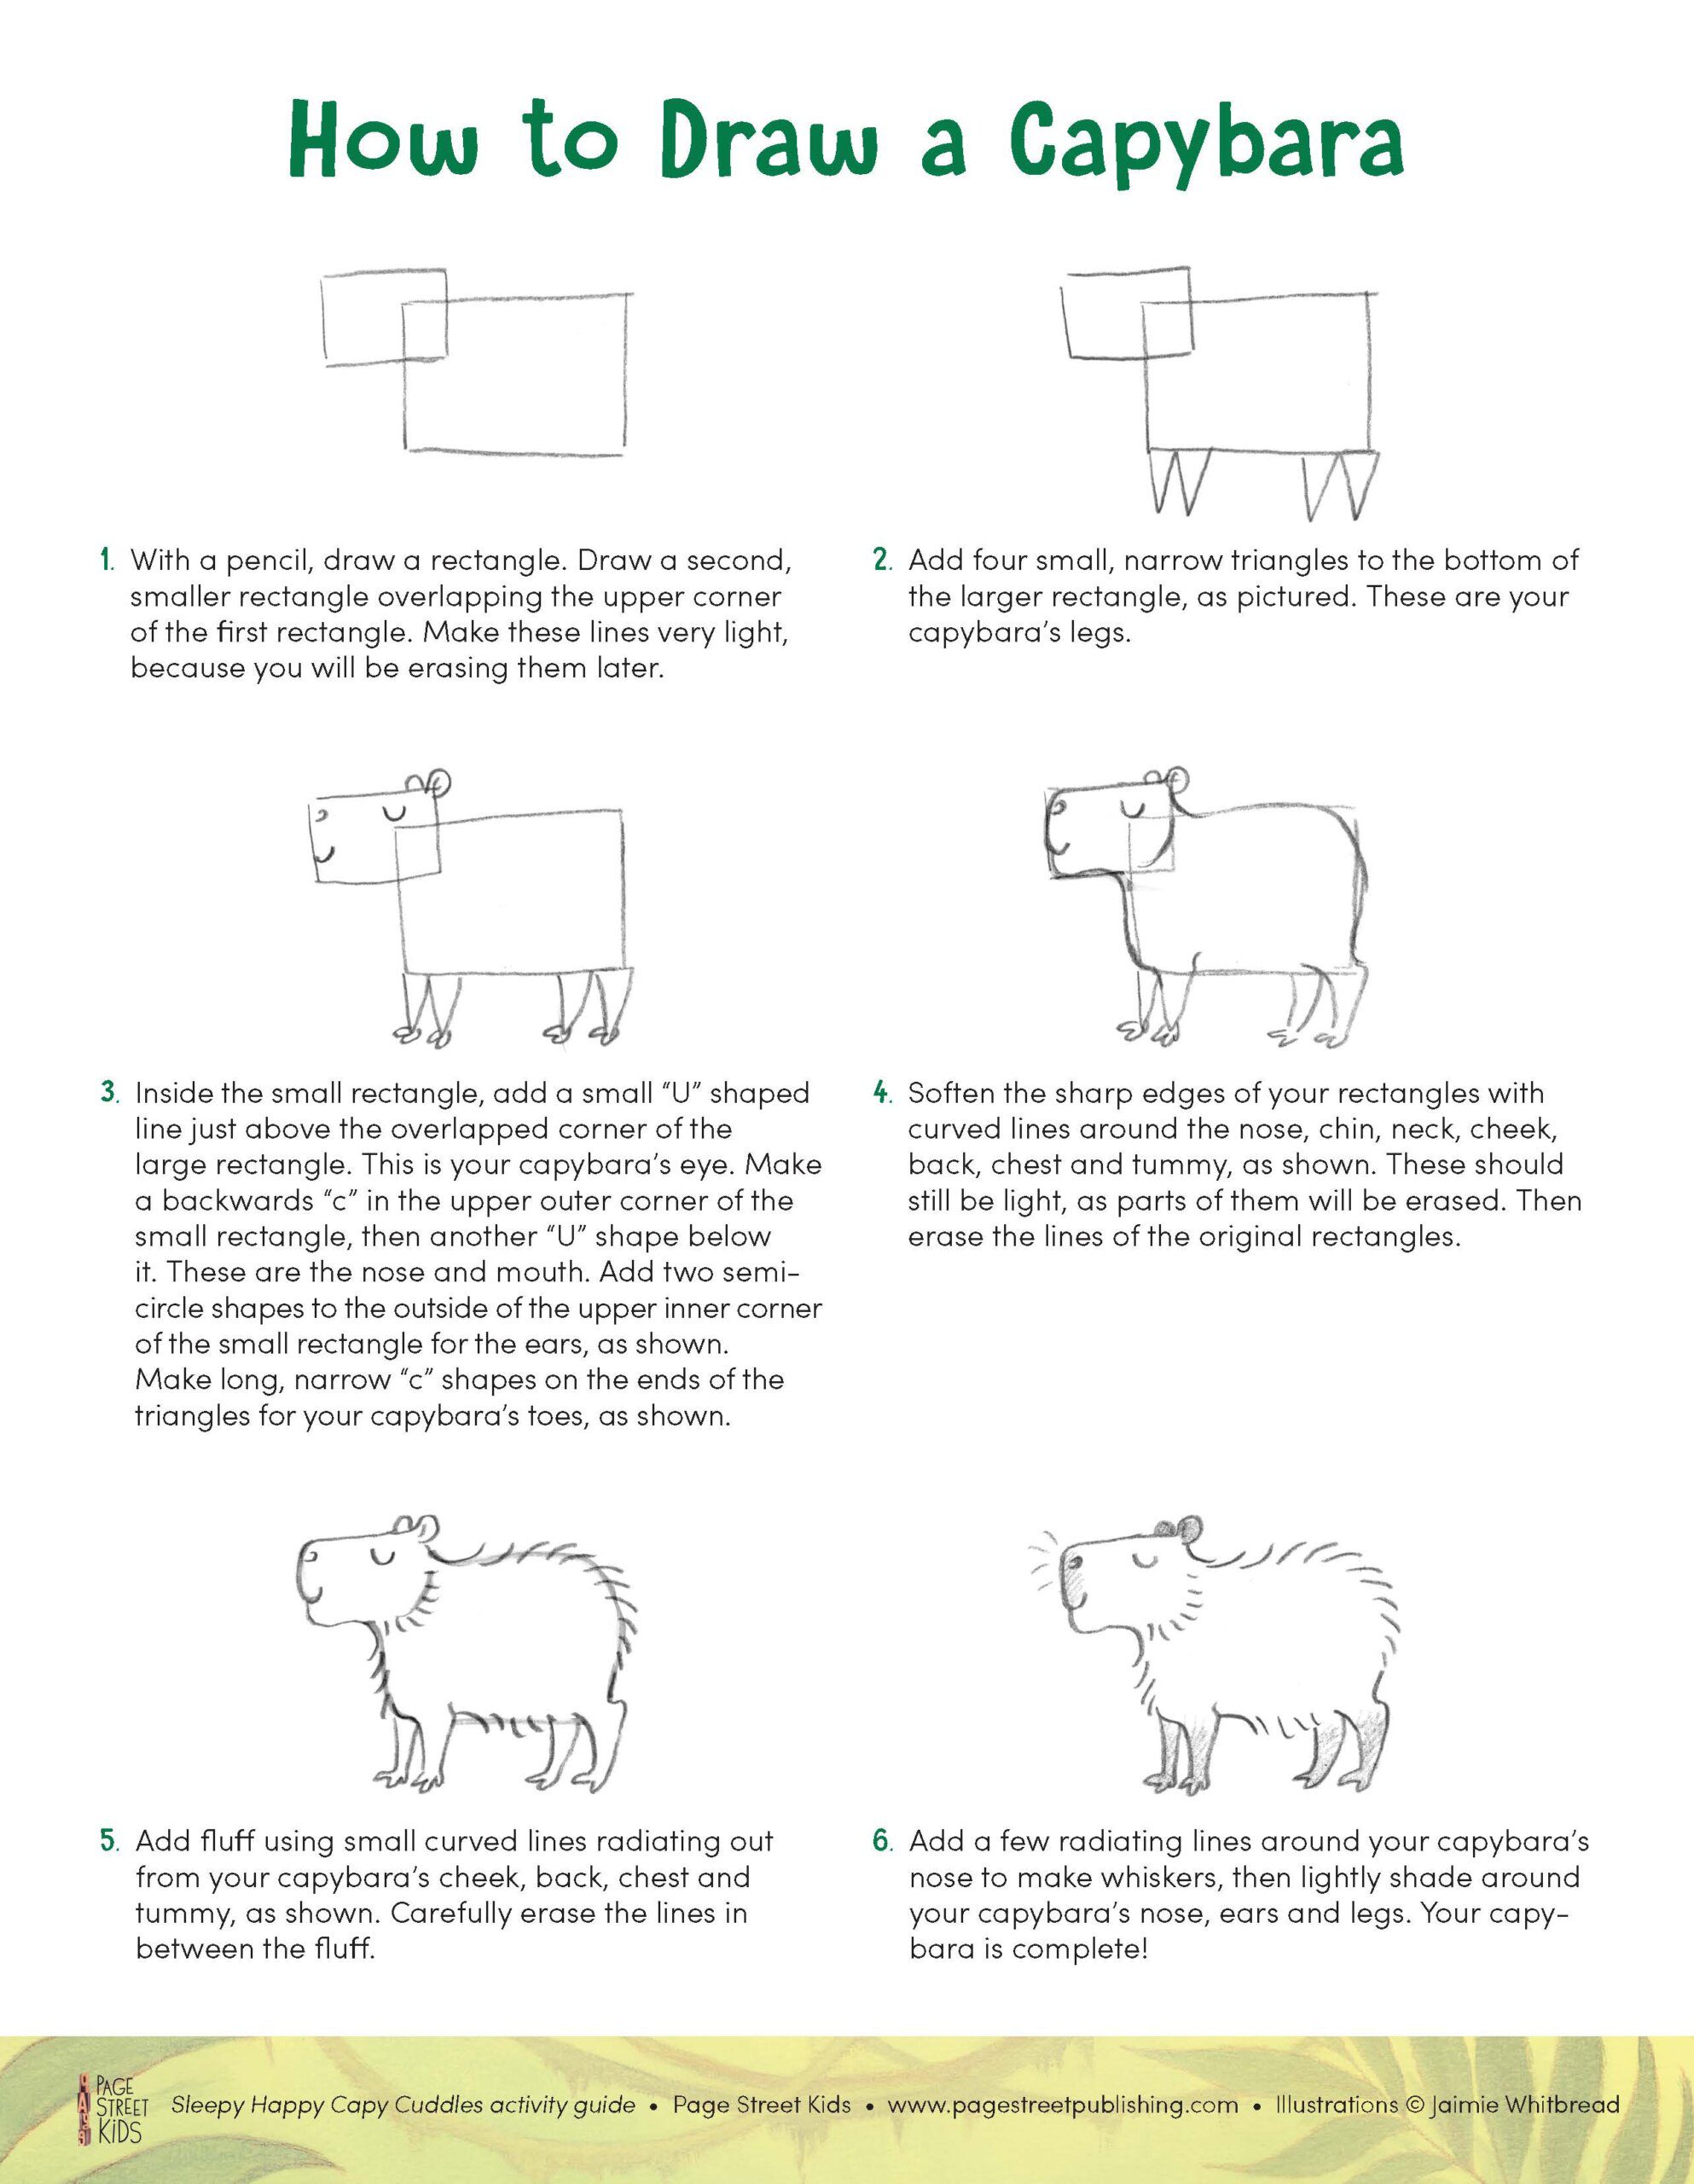
Before you start cutting the fabric, it’s important to have a pattern that suits your desired capybara size. You can either find a capybara pattern template online or create one yourself. Make sure the pattern size matches your vision for the final product. Once you have the pattern, print or trace it onto sturdy paper or cardboard. Carefully cut out the pattern pieces, ensuring accuracy and precision.
Cutting the Fabric
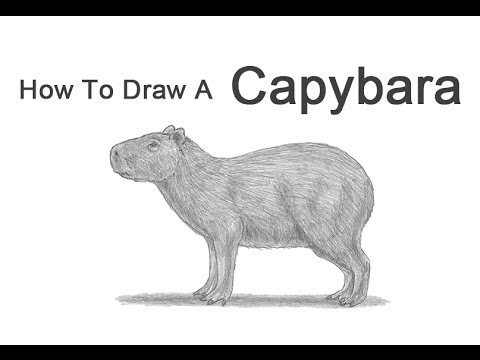
Now that you have the pattern pieces, it’s time to cut the fabric. Lay out the fur fabric on a flat surface and place the pattern pieces onto it. Use a fabric marker to trace around the pattern pieces, ensuring clear and accurate lines. Once you’ve traced all the pieces, carefully cut them out using scissors. Take your time and be precise to achieve clean and well-cut fabric pieces.
Sewing the Body
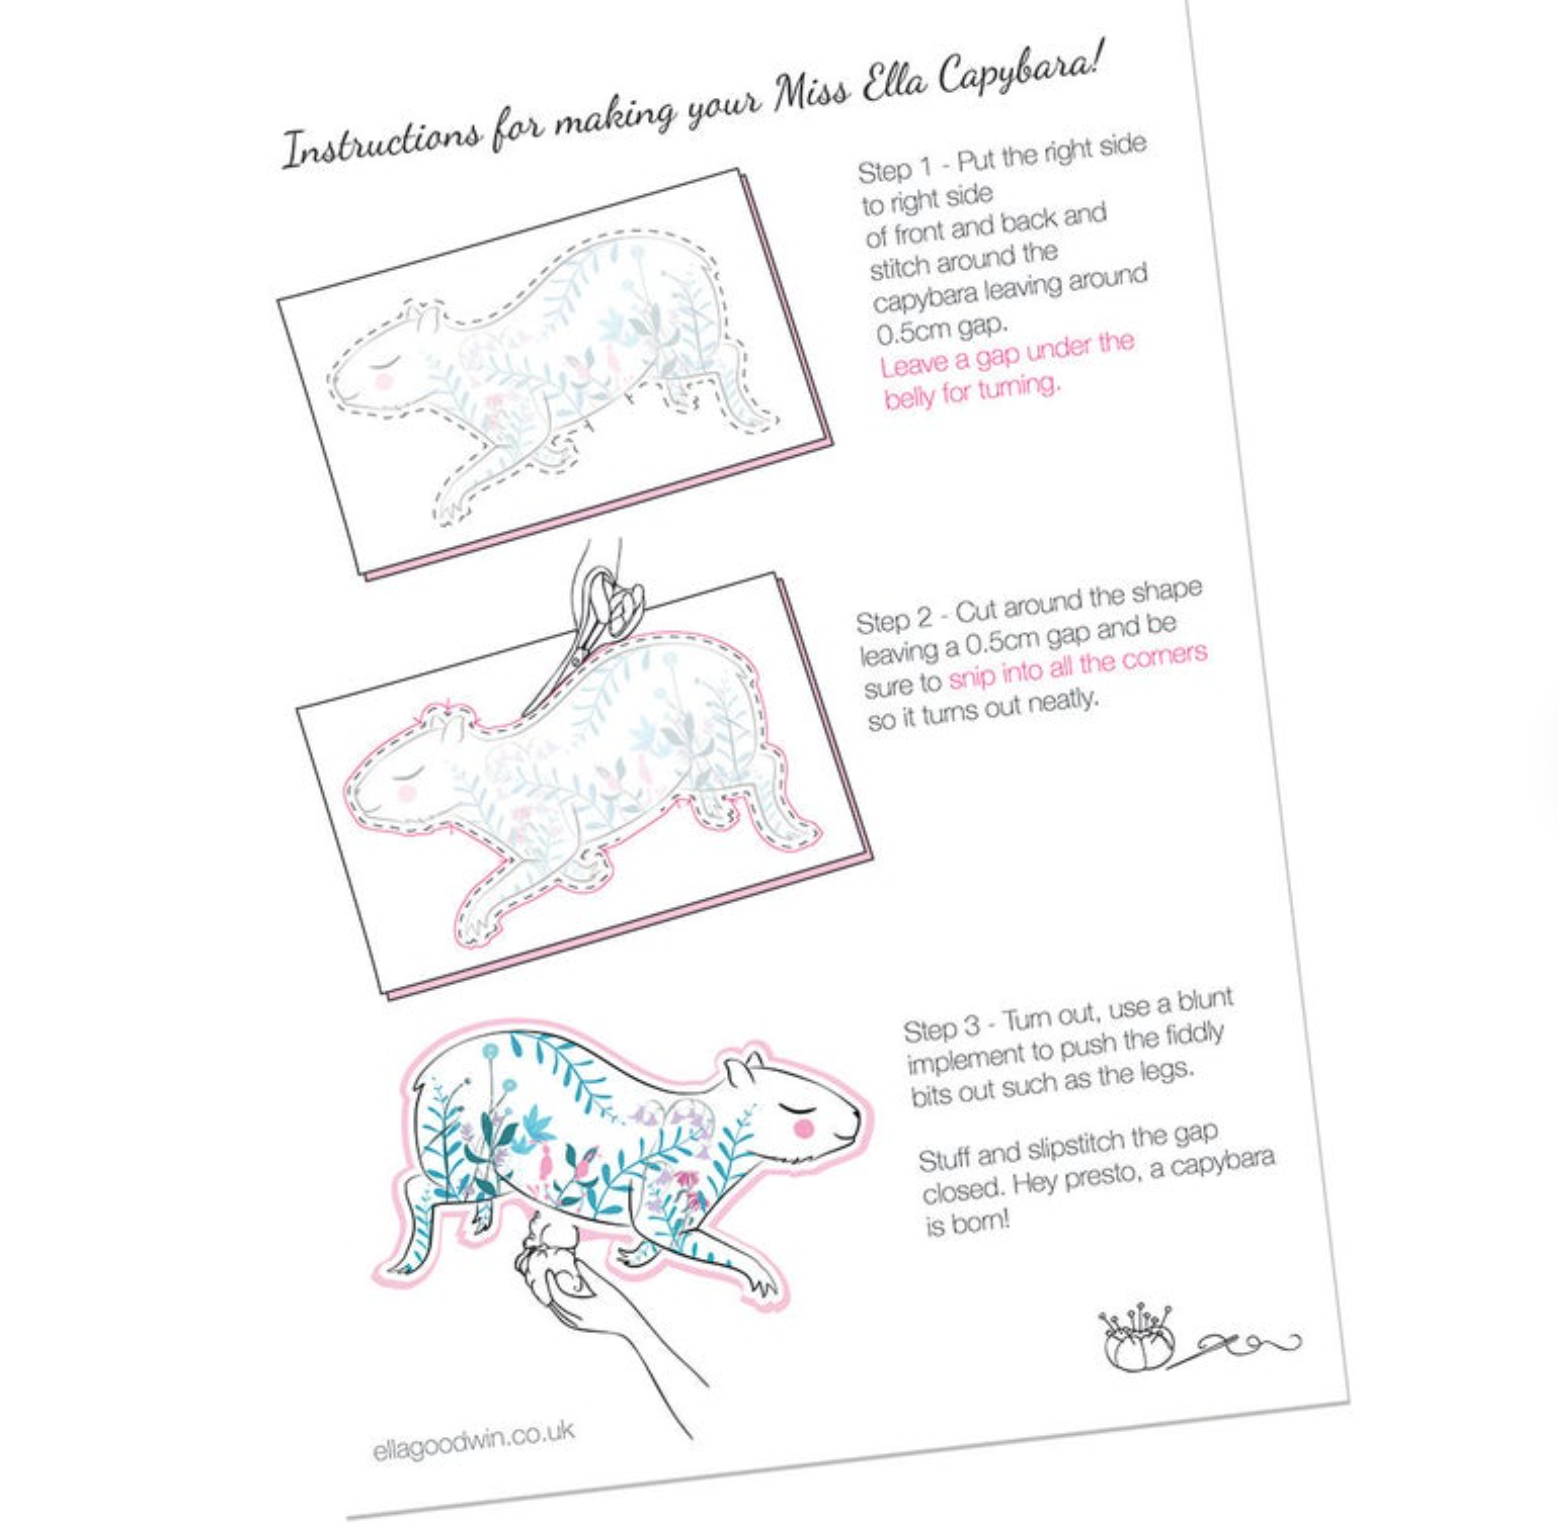
Now that you have all the fabric pieces ready, it’s time to start sewing the capybara’s body. Begin by pinning the body pattern pieces together with the right sides facing. This will ensure that the seams are on the inside once it’s sewn. Thread a needle and tie a knot at the end. Starting at one point, begin sewing around the outline of the body, leaving a small opening to later stuff it. As you sew, feel free to use a sewing machine if you’re comfortable with it. Once you have sewn around the body, gently stuff it with polyester fiberfill through the opening. Continue sewing until the body is fully closed.
Adding the Features
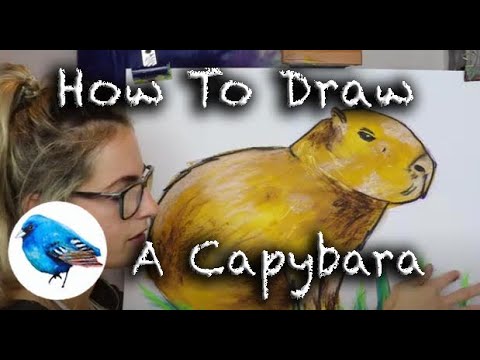
To give your capybara its distinct features, you’ll need to attach the safety eyes and sew on the nose and other facial features. Attach the safety eyes to the head using the provided washers, ensuring they are securely in place. Then, use black thread to sew the nose and other facial features onto the head. Additionally, cut pieces of tail material and sew them onto the body to complete the capybara’s look. To give it stability, use fabric glue to attach plastic pellets to the bottom for weight.
Creating Limbs
Now that the body is complete, it’s time to make the capybara’s limbs. Using the pattern template, cut out the paw and leg pieces from the fur fabric. Fold the fabric in half, making sure the right sides are facing each other. Sew along the outer edges of the limb pieces, leaving one end open. Carefully turn the limb right-side out so that the fur is on the outside. Stuff the limb with polyester fiberfill to give it a plush and realistic appearance. Once the limb is stuffed, close the open end with hand stitching. Repeat this process for all four limbs.
Attaching Limbs
With the limbs and body complete, it’s time to attach the limbs to the capybara. Position each limb on the body where desired, ensuring that they are evenly spaced and in a natural position. Secure the limbs by either hand stitching or using a sewing machine, depending on your preference and sewing skill level. Take extra care to ensure that the limbs are firmly attached so that they withstand years of playing and cuddling.
Final Touches
Now that your capybara is taking shape, it’s time to add some final touches. Trim any excess fur to shape the capybara, giving it a neat and polished look. Take this opportunity to check for any loose stitches and reinforce them if necessary. Gently brush the fur to remove any stray fibers and create a smooth and soft texture. Finally, take a moment to inspect the capybara for any further improvements or adjustments needed to achieve your desired final product.
Optional Modifications
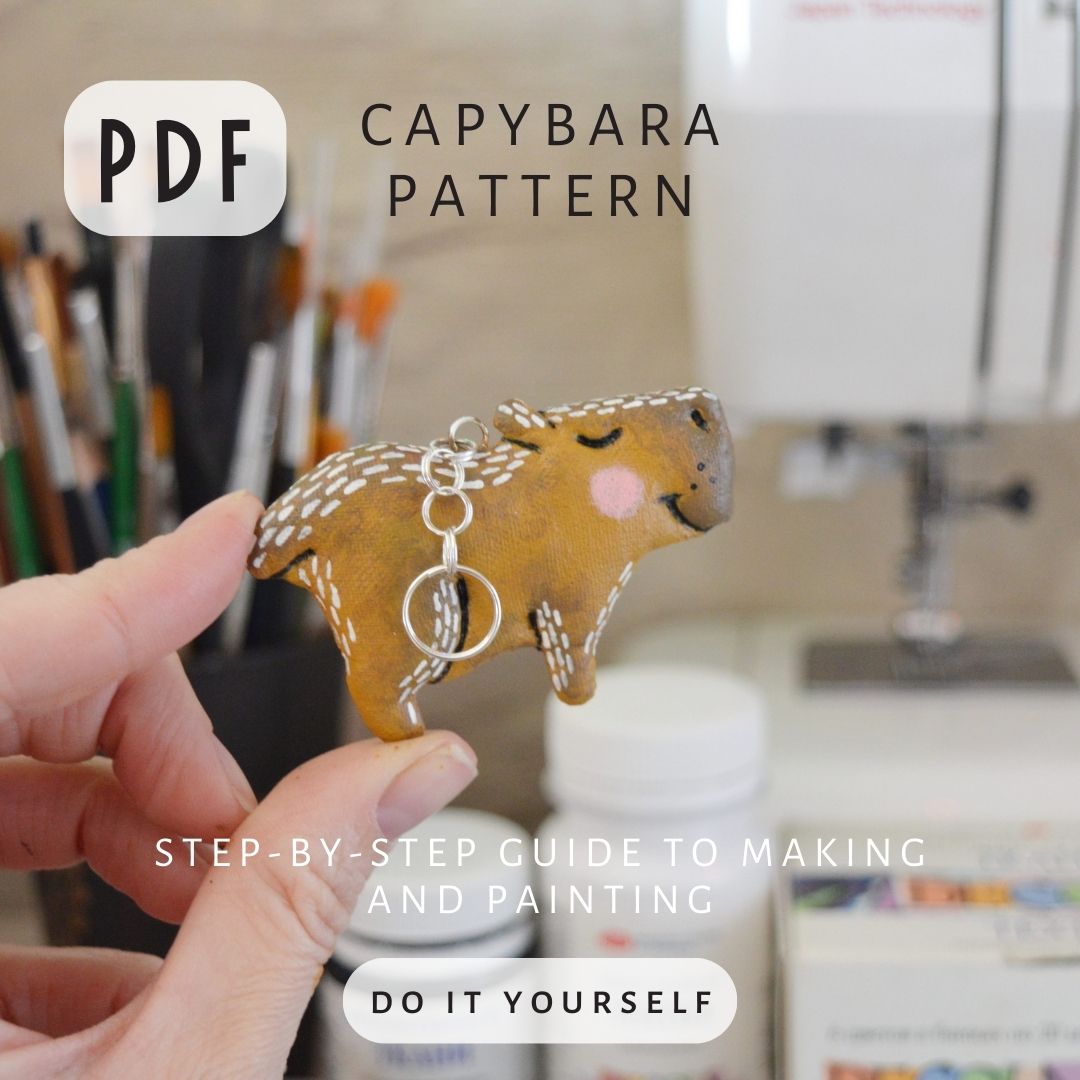
If you want to add a personal touch to your capybara, there are several optional modifications you can consider. For example, you can add a removable collar or clothing to customize your capybara’s style. Experiment with different fur colors and patterns to create a unique and eye-catching capybara. You can also get creative and create additional accessories such as a hat or glasses to further personalize your creation.
Safety Precautions
While crafting your capybara, it’s essential to prioritize safety. Take care when using scissors or any sharp objects to avoid accidents or injuries. Ensure that the safety eyes are properly secured to prevent any choking hazards, especially if your capybara will be around children or pets. If children will be handling the capybara, it’s important to supervise them to ensure their safety and the integrity of the capybara.
By following this step-by-step guide, you will be able to create your very own adorable capybara plushie. Enjoy the crafting process and have fun customizing your capybara to make it uniquely yours. Whether you’re creating it as a gift or for yourself, this DIY project is a great way to showcase your creativity and bring joy to those around you.

